RV Life

Homeschool Orginization in a Camper!

Does homeschool take a lot of room? It doesn’t HAVE to, but, let’s be honest, it makes things go more smoothly when you have room to spread out.

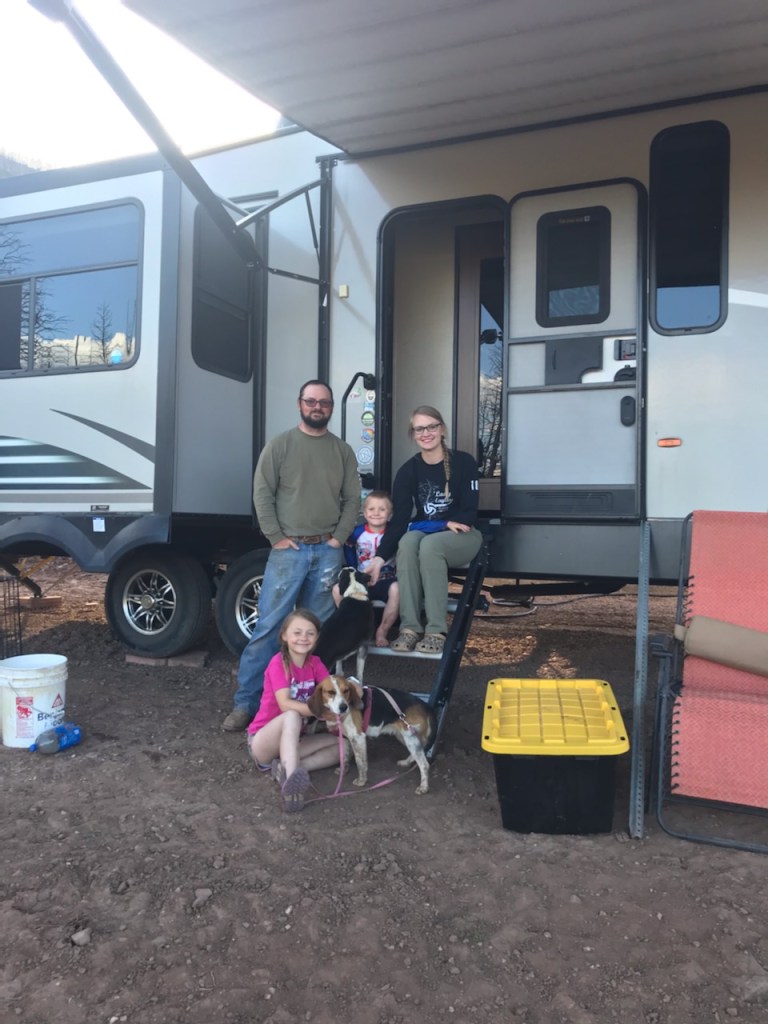
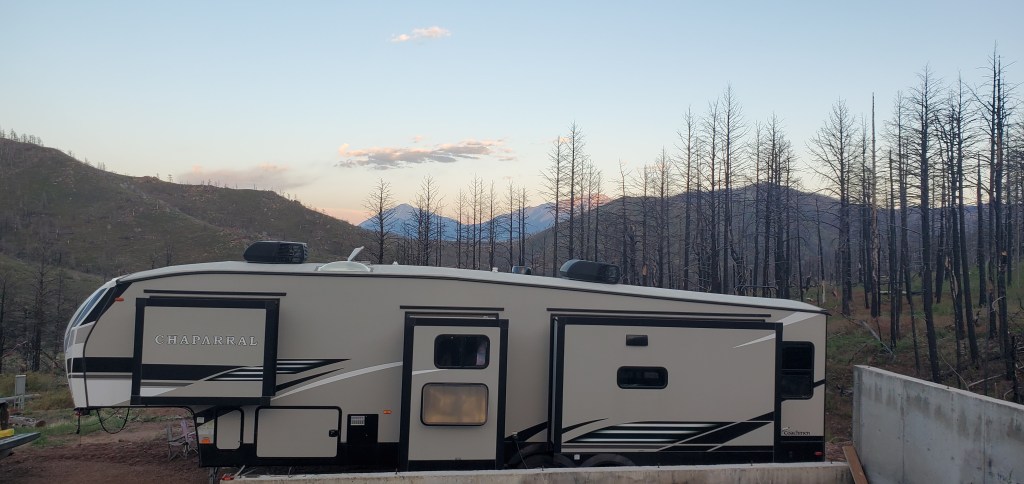
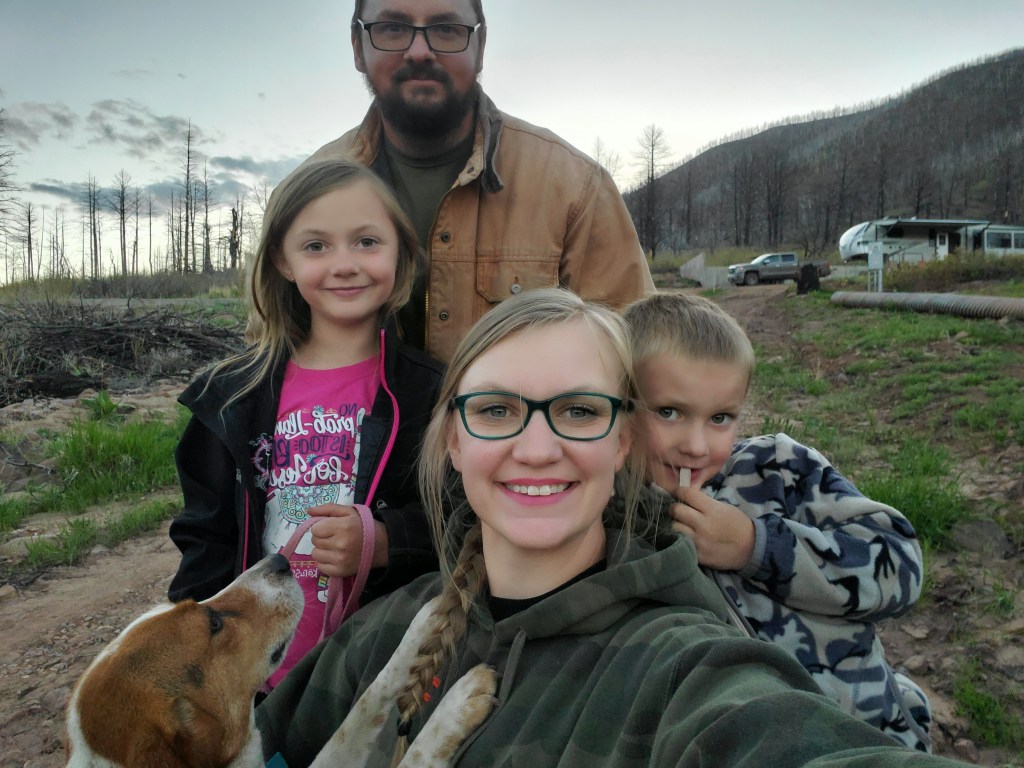
Do we have room to spread out? 🤣🤣🤣 absolutely not. We’re in a 40 ft 5th wheel camper, a sardine can, if you will. When we homeschooled in our house, there was supplies everywhere. Did we need all of it? I used to think so, but not all of it was a necessity. In our house, I took over the dining room, which was at the back of the house, furthest from our woodstove. So it wasn’t long before it was too cold to not enjoy school back there and we moved to the front room. We kept things tidy for a hot minute, but when I have the space, I tend to fill it up. It’s a design flaw in me!

So where did we put everything? I’m so glad you asked! 😏 I found some great baskets from Mardel. They were even on sale for only $5.99 when I ordered them!

We may not have a lot of room in this humble abode, but we do have a good amount of storage. In the back, above the couch, there’s a cabinet the entire width of the camper, which is 8 ft. It’s open all the way through, so there’s some serious space in it.

I got measurements and got to ordering. I even found the baskets in my favorite sage green color!

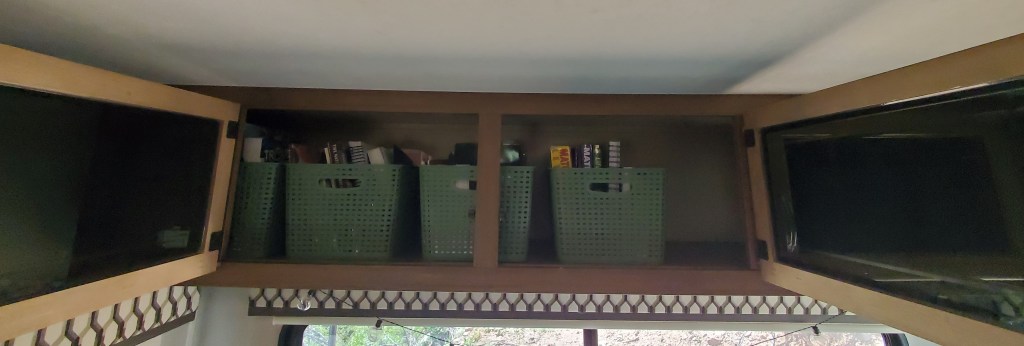
I have 5 baskets in here now and could fit another, however I’m keeping it open to store other random things. My reusable shopping bags are in the open space at the moment, but I’m sure that will change.

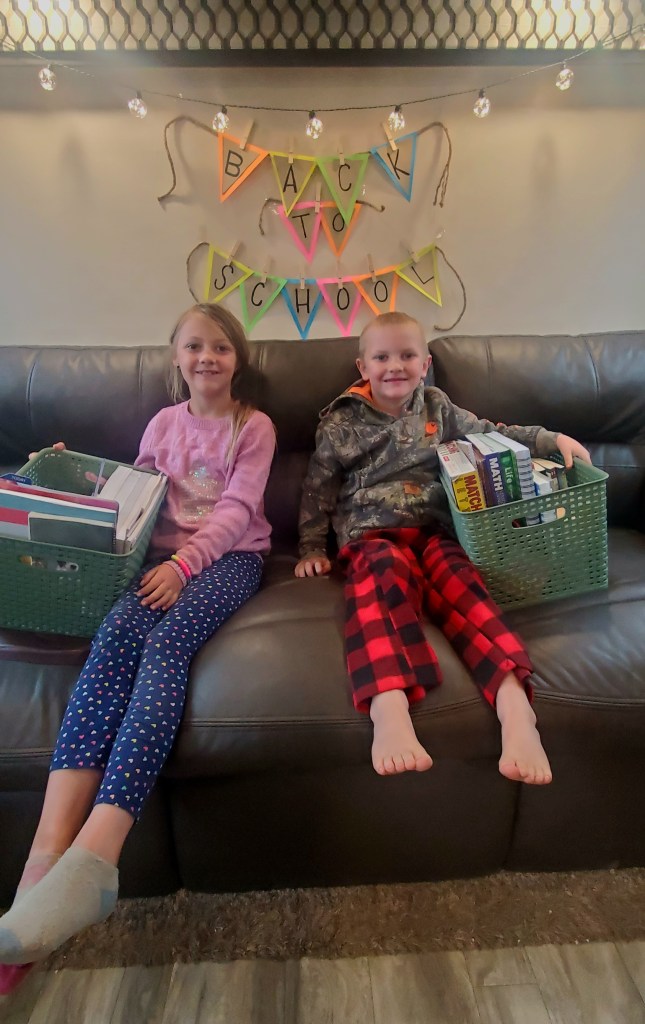
Each kid and I have our own basket. The kids’ are full of all their school books and supplies. Mine contains my planners, Bible studies, books I’m either currently reading or future reads, and all my pens, because I’m a sucker for a good pen and need all the colors. Each morning, I get the kids’ baskets out so they can easily get their books out. It’s just a great way to keep everyone’s things organized!

The other baskets contain boards games and playing cards, some art supplies, and just odds and ends items that are seriously totally random. Oh, and the kids want me to mention that we also store water balloons up there 🤣

I do have one other plastic tote/tub or whatever you want to call it, that holds most of our arts and crafts supplies. It stays in the floor, because it is fairly large, but we really don’t mind. It’s not in the way.

For loose paper products, we store under the table. The top lifts up and has a good amount of storage there. Another design flaw in me is if a paper gets bent, I think it’s completely ruined and I can’t take it. The table storage is perfect to keep things nice and flat!

**please note, I am in now way affiliated with Mardel, so I won’t get any kickbacks for your clicking on this link. I just love the company and this particular product has been a perfect organization solution for my family!

I pray you are having a terrific week and may Yah bless you and keep you!

RV Life

The RV

A few months ago, we did it. We had been talking about it for years. We knew we didn’t want to live in town, and we had the property, but we just weren’t sure how to make that transition work.

But we finally did it.

We decided that the easiest, quickest way to get out of town was to buy a camper/5th wheel/RV (whatever you want to call it). So we did.

We bought a 40 ft Coachman Chaparral from the sweetest family. We had done so much research on the style, make, and model we wanted. We knew exactly what we wanted. We could NOT find one in the entire state of Colorado 🙄

I found one in Oklahoma and had recruited a friend to deliver it to us, but something just didn’t feel quite right. Then, just like that, the perfect camper popped up on Facebook marketplace. We jumped on it. While driving to look at it, Brock asked me “are we buying it or not?” I said, “if it passes our own inspections, yes, we’re buying it.” And the rest is history

There’s still a ton of work to be done, mind you, but we’ve been happily living in this incredible thing for a couple months now. We are slowly making it work for us and learning how to do life in such a small space.

Now, we’re just trying to wrap our heads around keeping it warm this winter.

I would love to bring yall along with our journey of making this property home. We do have plans for building a house in the future, but we’ve not been able to settle on one idea yet.

Recipes

Elk Backstrap

For the longest time we sliced up all of our backstraps for steaks. One year I just didn’t feel like putting that much effort into it and I cut them into decent sized chunks and froze them whole.

My laziness doesn’t always pay off, but it did this time! 😂

Leaving the backstraps “whole” has quickly become our favorite way to have elk steak.

First, what is a backstrap?

I know that not everyone is accustomed to having loads of fresh meat around, and even fewer of you will have processed your own critters, so let me back up a bit and explain. If you are familiar with what this is, please feel free to skip to the recipe.

The backstrap is the long piece of juicy, tender meat that runs along the spine -on the top side. They run parallel to the spine and sit on top of the rib cage. All critters have them…even you have them! For beef, they’re referred to as the loin. There is also what’s called the tender loin that runs along the spine, but underneath, in the abdominal cavity. On beef, this is where the filet mignon comes from. These get used the least amount and are just incredibly tender.

On an elk, the backstraps are pretty dang big! When we process a deer or elk, we pull the backstraps and tenderloins off first and leave them in the sink with cool water and a pinch of salt to draw out some of the blood.

Moving on!

Elk is by far our favorite thing to eat. We are blessed to be able to hunt. None of this is taken for granted.

Elk Backstrap-

You want to start with room temperature steak!

First thing is first, you need a cast iron skillet. If I’m being honest, it’s the only skillet you’ll ever really need.

Get your skillet nice and hot over medium heat.

Add 2-3 tablespoons of an oil of your choice. I usually go for Olive Oil.

Sprinkle salt, pepper, and rosemary on your backstrap, making sure to get all the sides.

Once the oil is hot, add the backstrap to the skillet and let it sear for about 4 minutes.

Flip it over and let it sear for another 4 minutes.

At this point I always check it with a thermometer, and typically need to cook it on a third side (I know that doesn’t make sense, but it does 🤣 the chunk of meat is big enough to have at east 3 sides)

Elk should be cook to 120-125°F – and then let it rest for 5 minutes or so.

In the last couple of minutes of cooking, I like to add minced garlic and a sprig of rosemary to the skillet.

Once it reaches temperature -120-125°F- remove from heat and let rest for about 5 minutes.

I like to slice it up and serve with rice or mashed potatoes, broccoli or corn, salad, fresh bread.. ..honestly the possibilities are endless.

Enjoy!

Recipes

Easy Elk Stroganoff

I’m not one to waste time talking about what inspired me to make this recipe, or how it makes me feel 😂 so let’s get to it.

  • 1 pound steak (mine is elk steak) sliced thin-bite size
  • Garlic salt + pepper to taste
  • Little bit of oil in a hot pan
  • Cook steak with seasonings
  • Boil some egg noodles. How hungry are you? Make that much
  • Once steak is done, add in a packet of brown gravy mix and 1 cup of water and stir
  • Plop a couple spoonfuls of soyr cream in the gravy and give it a good stir
  • Add in noodles
  • Serve it up

This is really about as simple as it gets, folks. This is my go-to when I run out of time to make anything else. It’s hard to mess up! You can definitely make it all from scratch, too, but like I said,this is for when I just run out of time for anything else. I will update with this recipe made from scratch, too 😉

Enjoy!